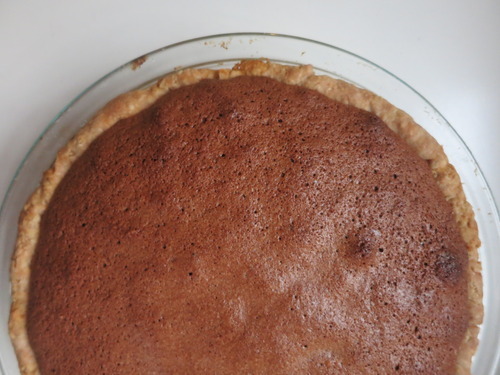
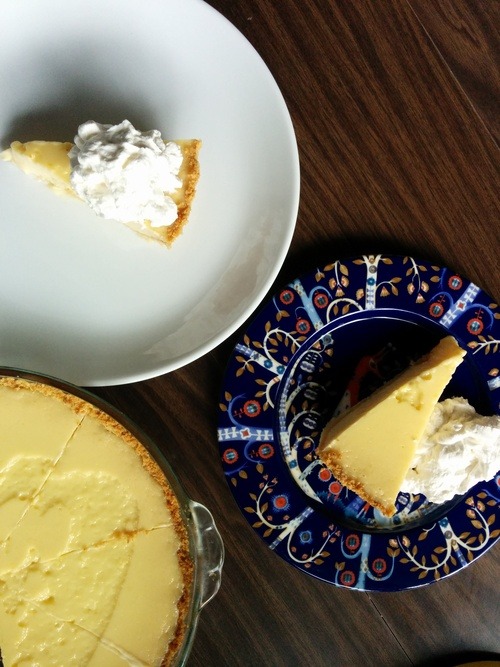
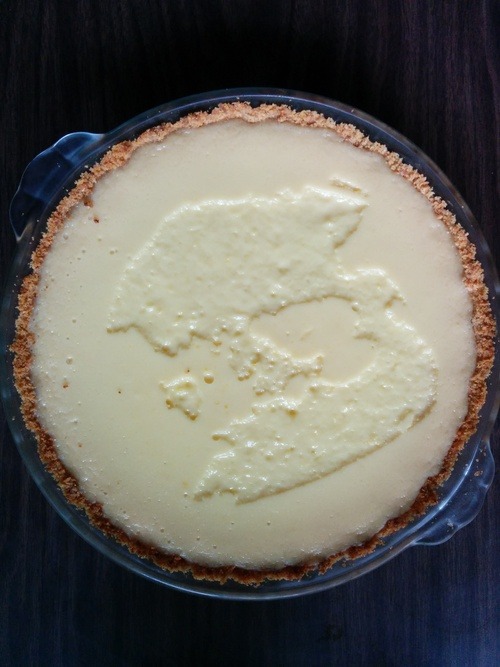
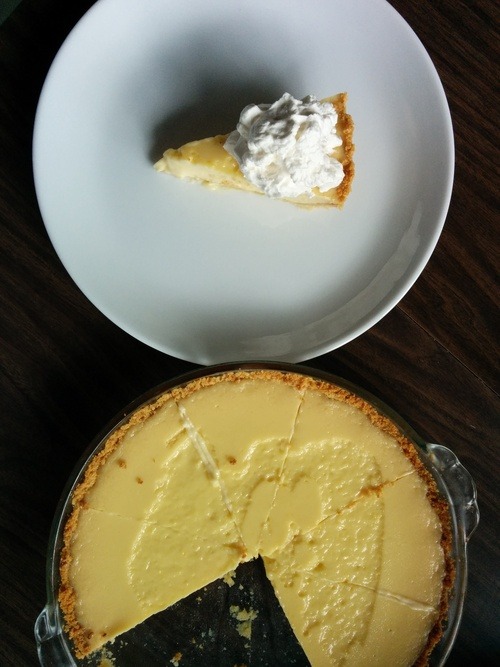
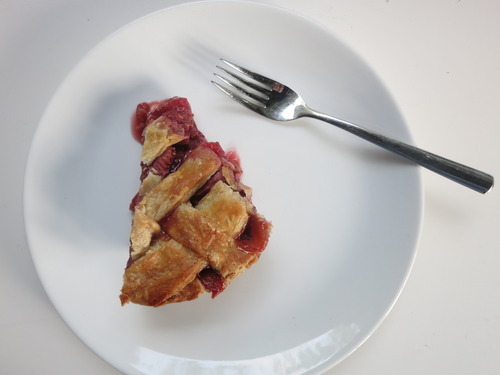
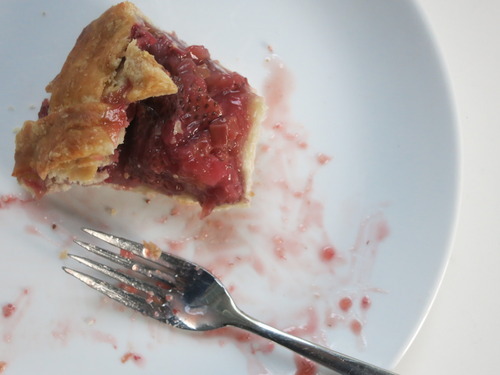
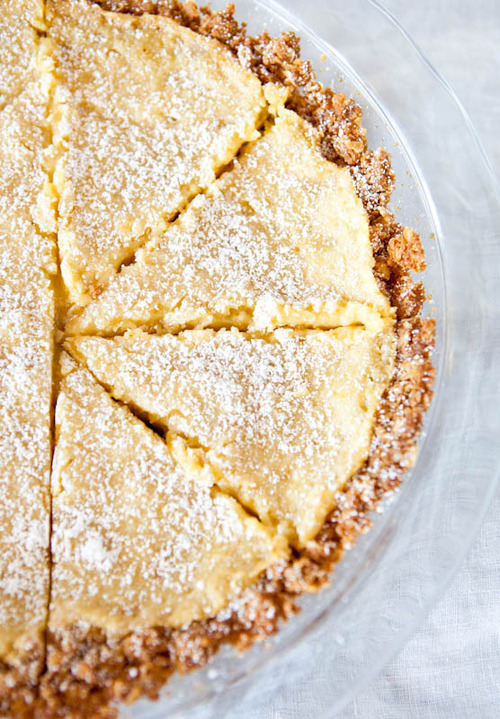
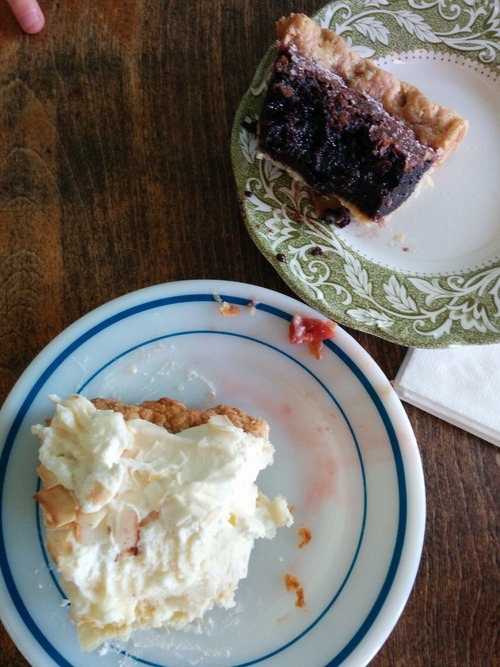
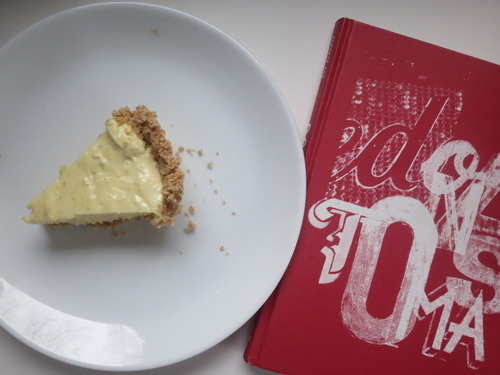
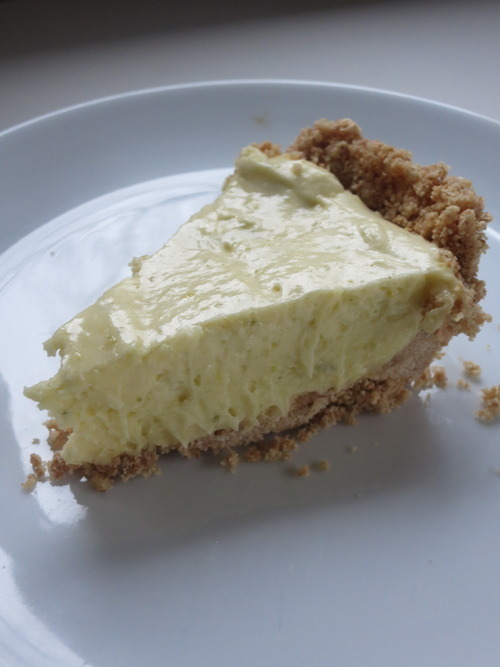
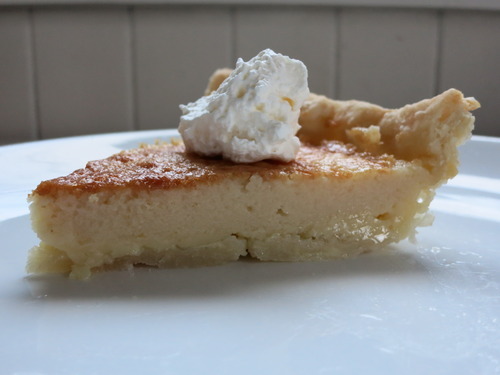
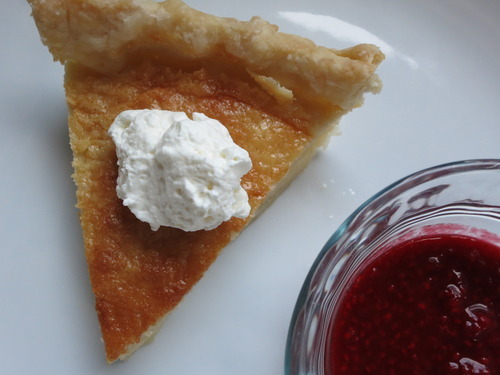
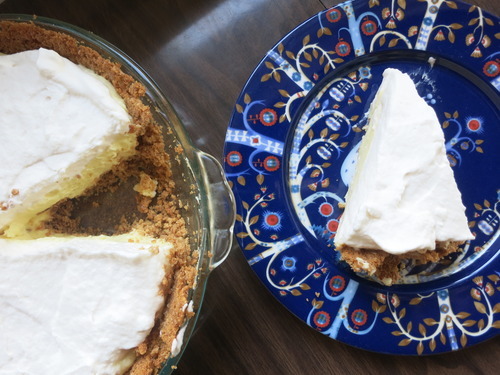
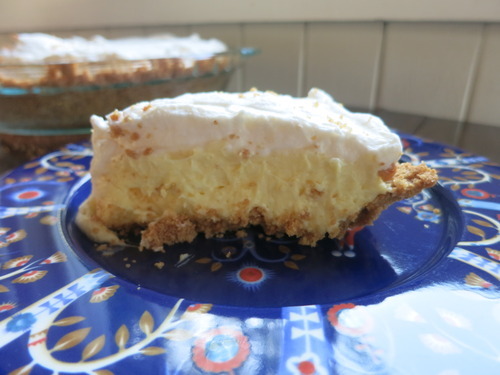
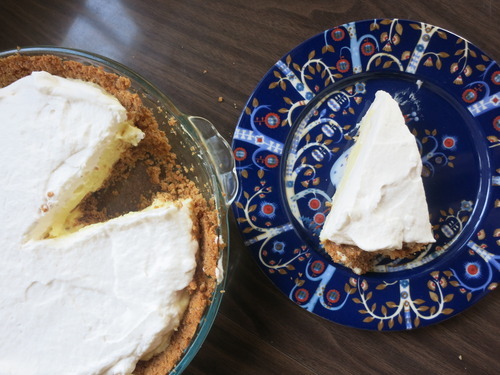
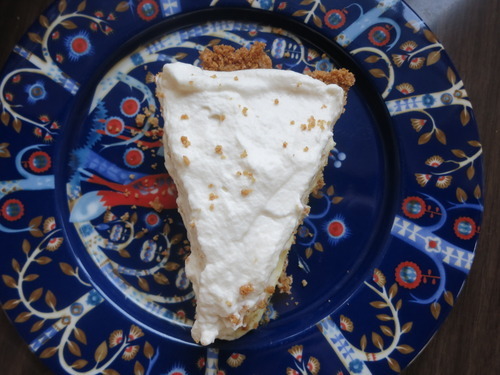
Creamy lemon icebox pie!
The recipe that I used for this pie called it something like “lemon cream cheese pie” but there is such a small amount of cream cheese I felt like that title was a little misleading. It really is more of a creamy lemon version of a key lime pie. I think I’ve said that before about another lemon pie I made.
I like this one better.
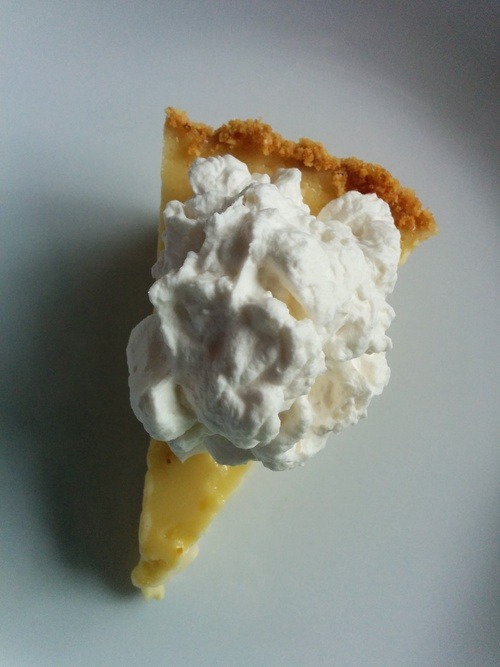
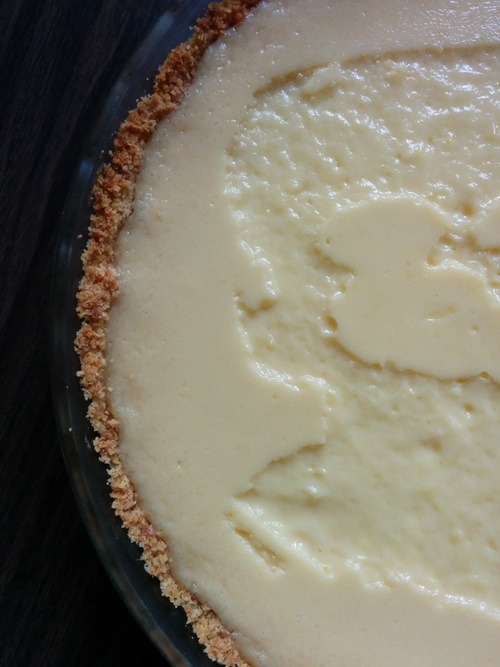
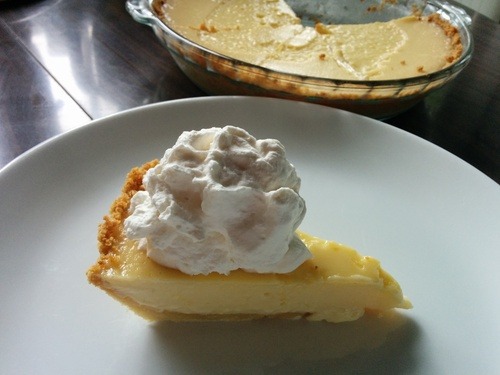
It’s smooth and creamy and not-too-tart. Maybe like the coconut cream version of lemon pie.
Yum.

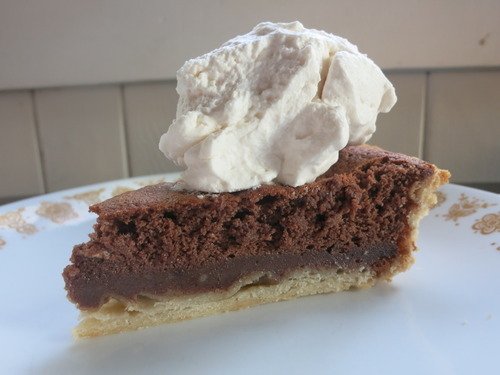
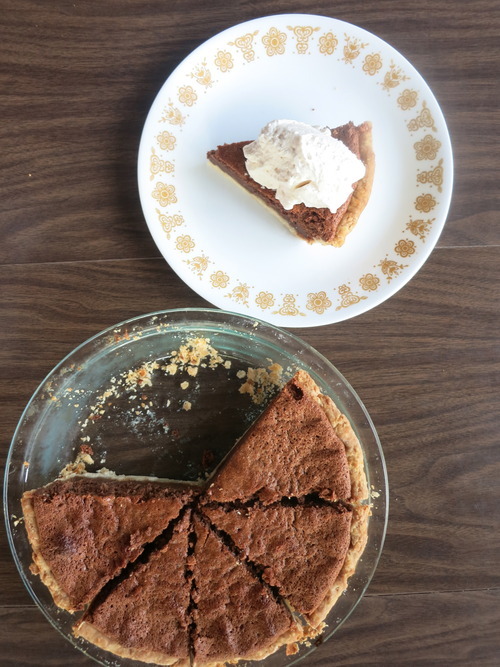
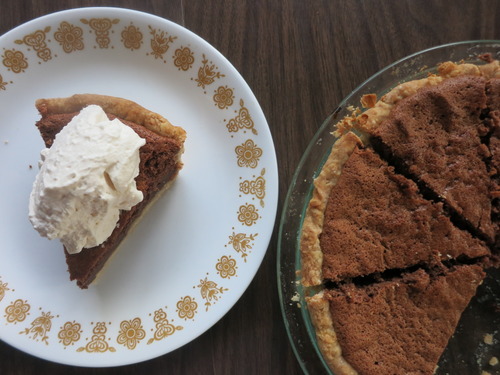
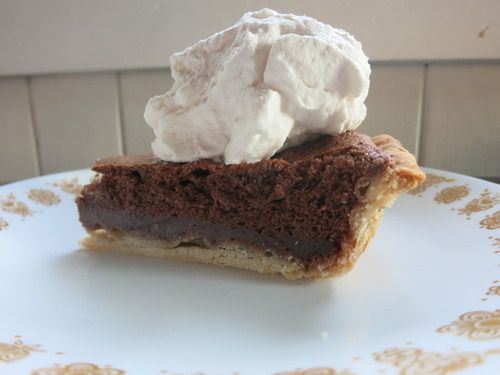
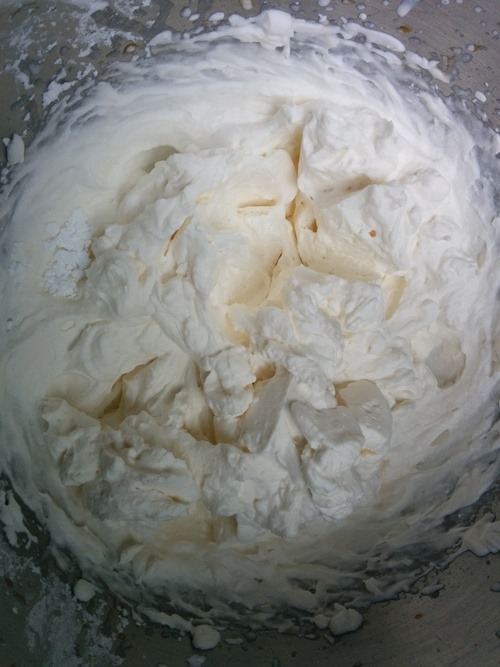
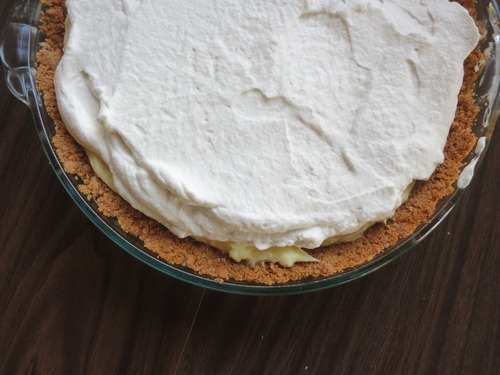
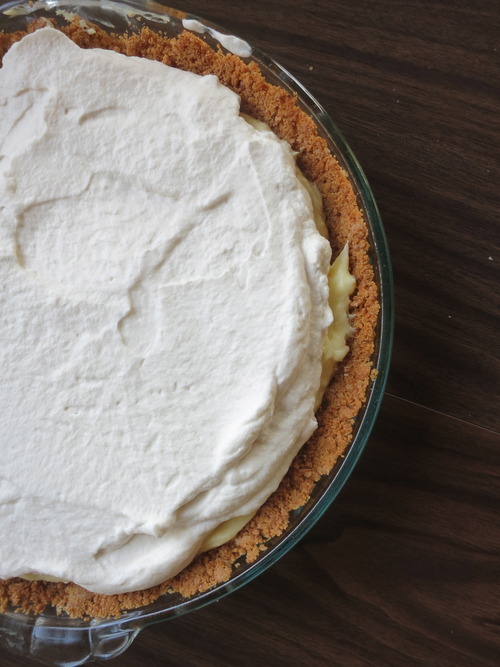
I used a deep dish pan and thought it was lacking a little height so I added a layer of whipped cream. The original recipe I followed said to garnish with whipped cream but I love the look of a smooth whipped cream top so I went ahead and slathered it on there.
* Quick note on timing. This pie requires that you make the first half then let that cool in the refrigerator for at least 3 hours then come back and make the second half. It’s totally necessary and you can’t skip this step. So, if you don’t have three hours of cooling time choose another pie.
This mid-pie cooling method is kind of fun though because if you do the initial crust and cool then have people over you look like a pie wizard when you say “hold on, let me make a quick pie.” Then throw the rest of the ingredients in the mixer, pour it all in the crust and voila – an amazing, delicious lemon pie in 5-10 minutes flat! They’ll think you’re a super hero. And in the I-can-pre-plan-pie-like-a-boss kind of way, you are. A pie hero!
Pie Filling Ingredients:
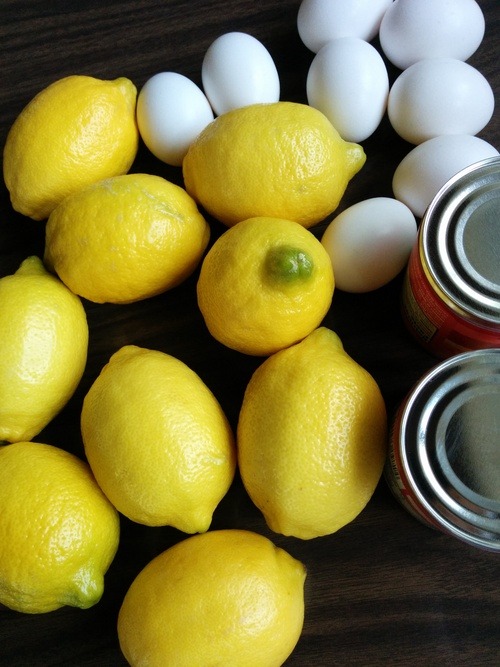
1 1/4 cups water
1/2 cup sugar
1/4 cup corn starch
3 well beaten egg yolks
1/2 cup lemon juice (split)
1 1/2 T butter
Dash of salt
7 oz (a little less than 1 cup) sweetened condensed milk
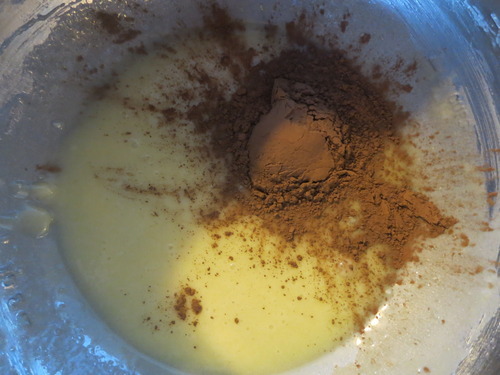
1/4 cup instant lemon pudding mix
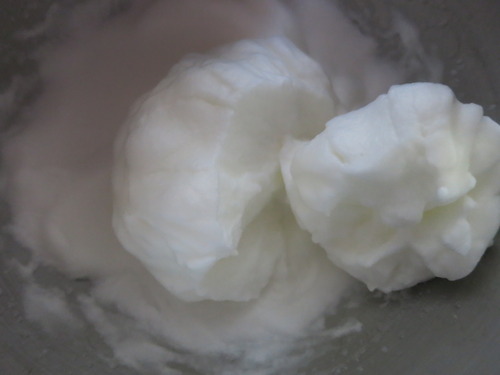
Whipped Cream
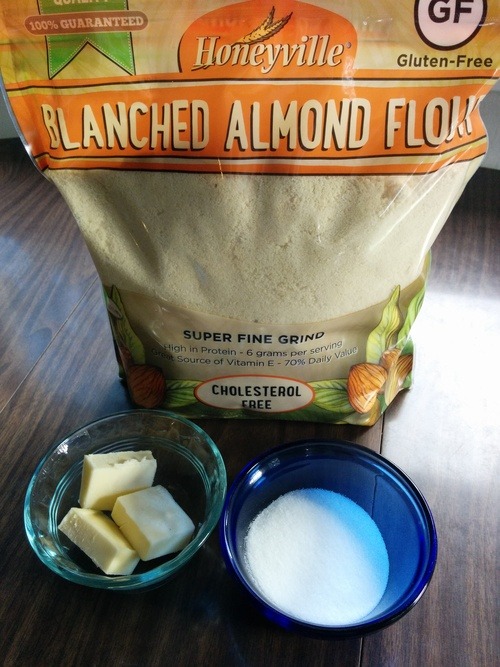
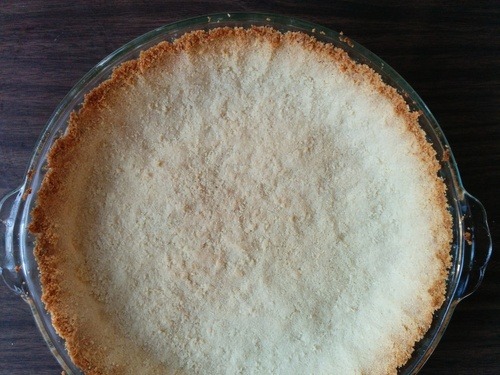
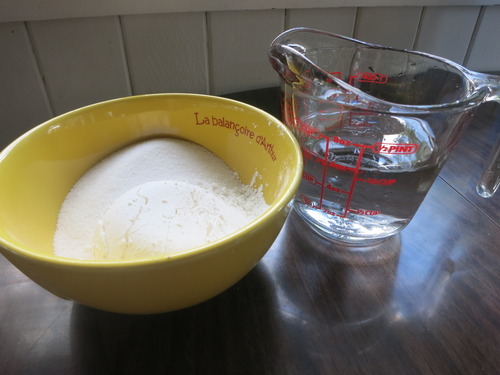
Graham Cracker Crust:
Pre-heat oven to 350
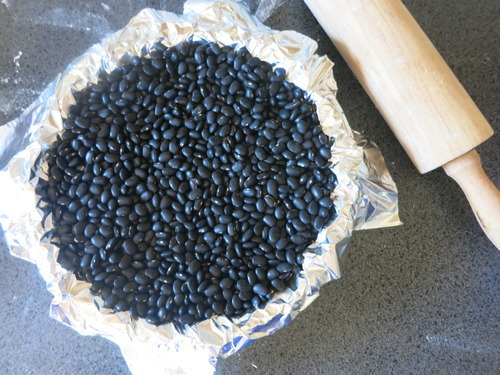
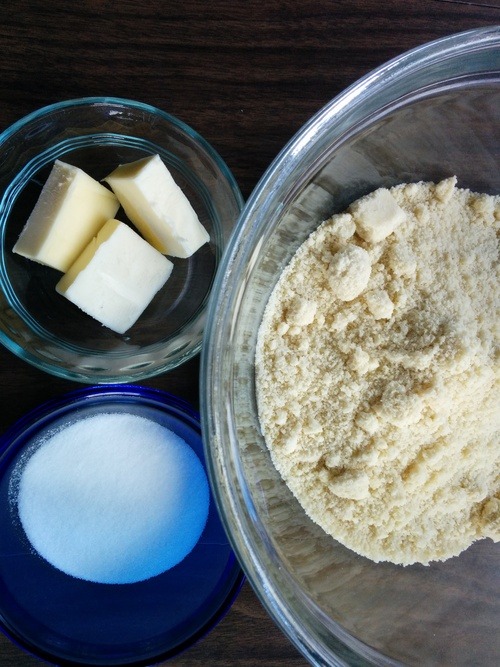
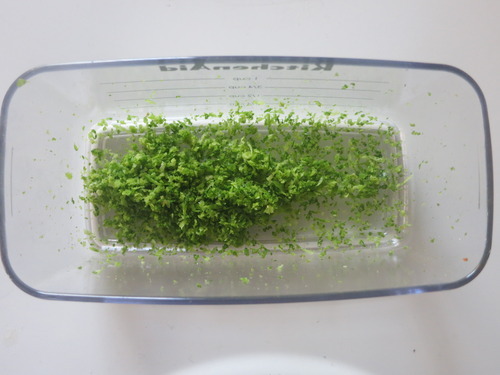
Smash 1 1/2 sleeves of graham crackers (about 1 1/2 cups of crumbs)
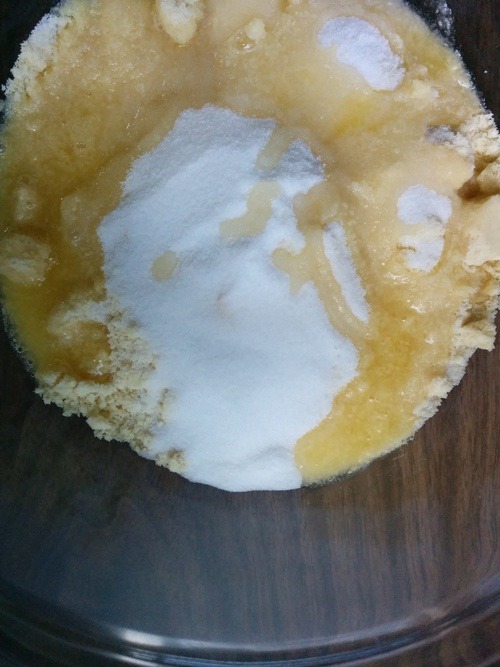
Add 3 Tablespoons sugar
Add 1/3 cup of melted butter
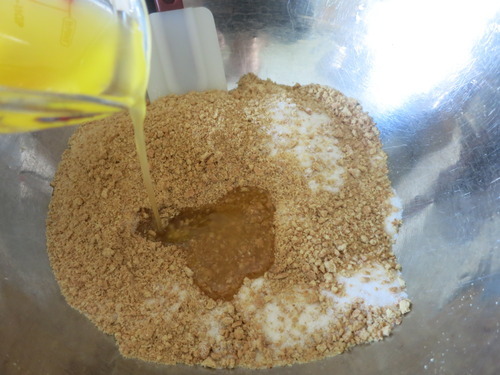
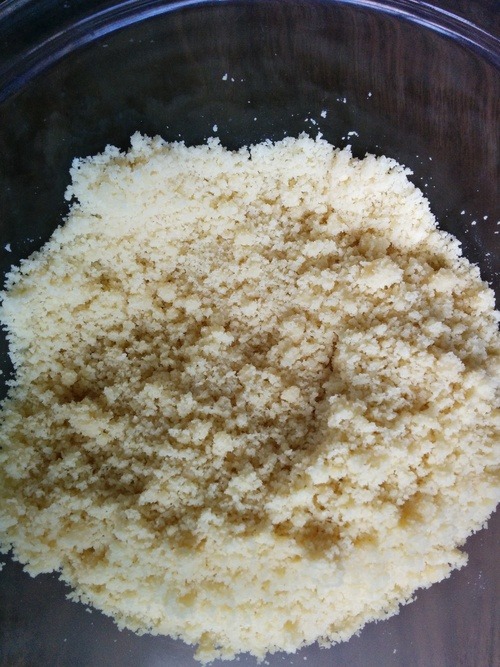
Mix until you have distributed the butter evenly to create nice wet crumbs:

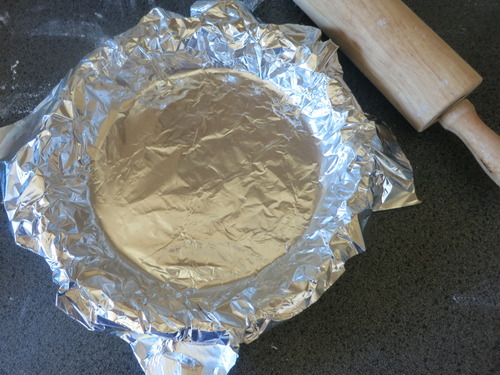
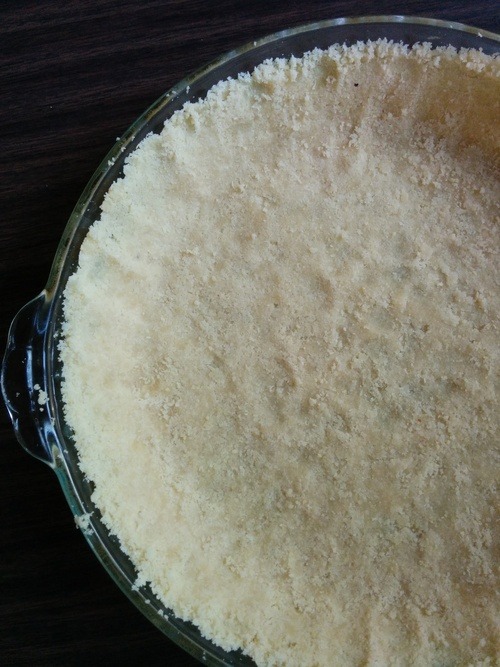
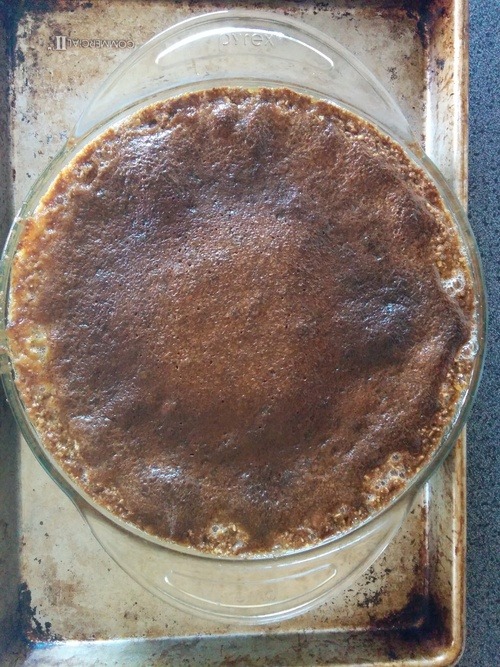
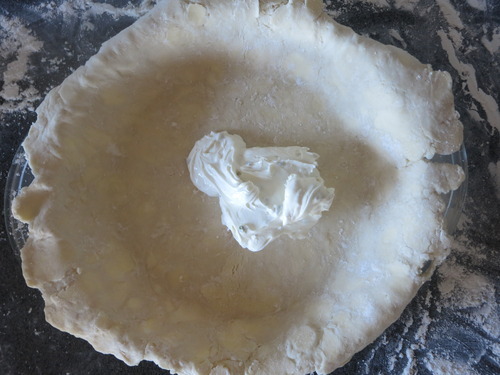
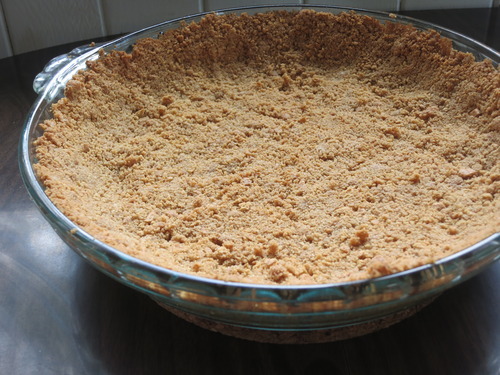
Press into pie pan and put in oven for 12 minutes (enjoy the smells, they will be very nice. But don’t enjoy them too much because you don’t get to eat any pie for at least 3 hours.)
Remove and let cool.
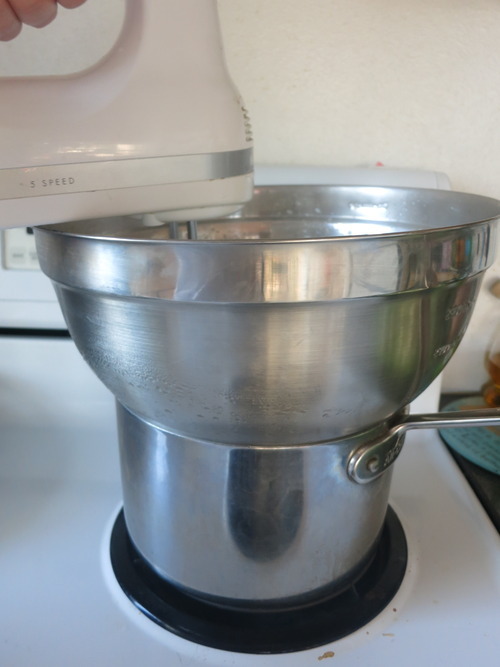
Pie Filling:
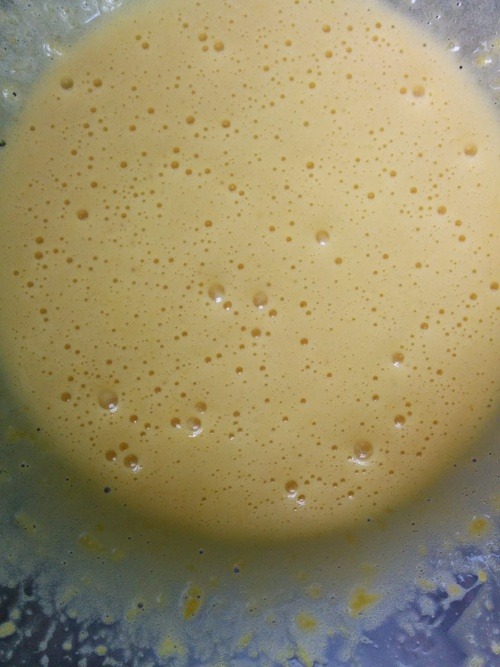
Separate your three egg yolks (save the whites for something else. Maybe a healthy omelet because you’re going to be eating a bunch of pie soon.)
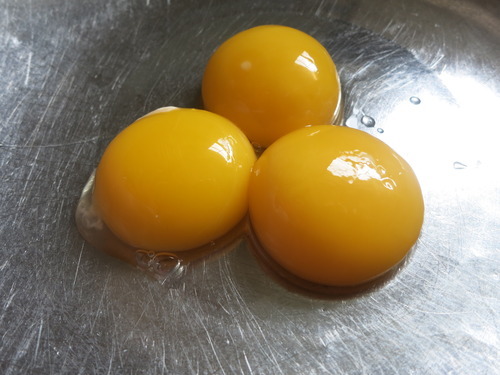
Mix the yolks well.
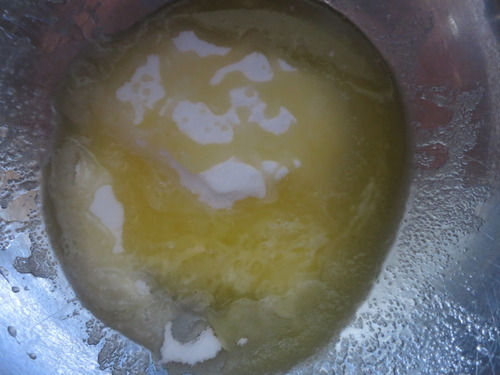
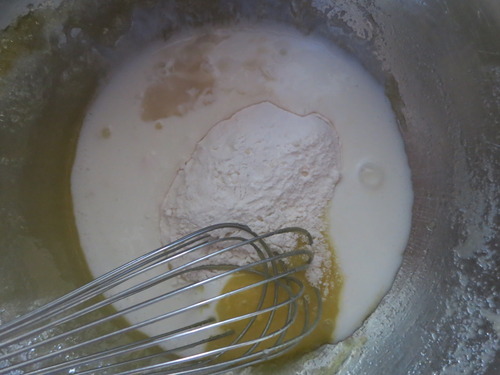
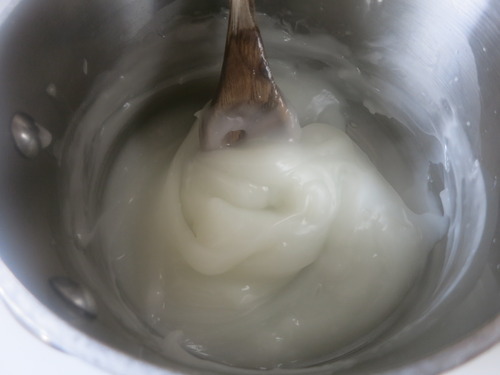
Combine 1 1/4 c water, 1/2 cup sugar, and 1/4 cup corn starch in a sauce pan.
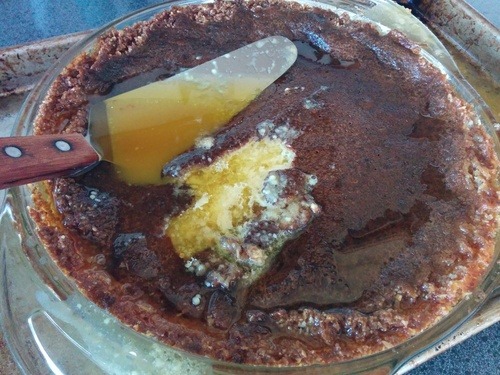
Stir the water, sugar, and cornstarch over medium heat until it bubbles and get’s thick. Mine got super thick. Like a giant ball of gack.
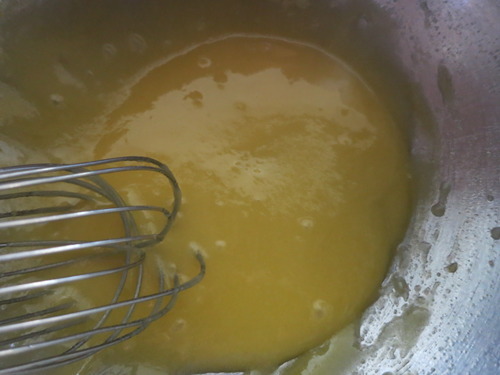
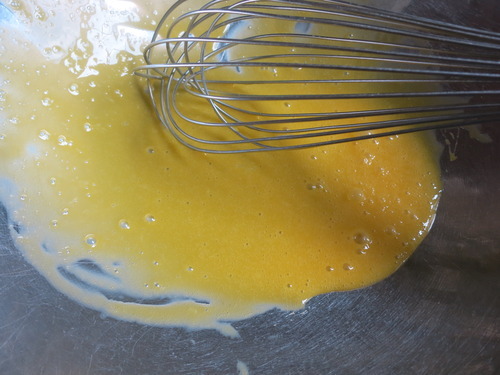
Remove from heat and add about half to the egg yolks. You don’t want the egg yolks to cook so don’t put the hot gew directly in them. I pu them on the sides of my bowl and slowly mixed them in.

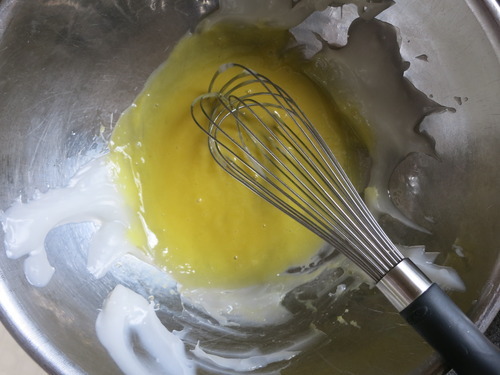
All mixed!
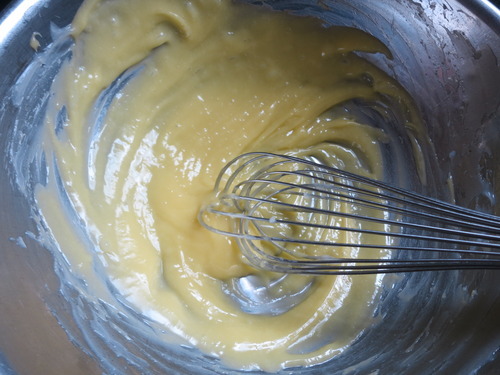
Now add that yellow mix back into your sauce pan with the rest of your gack and mix.
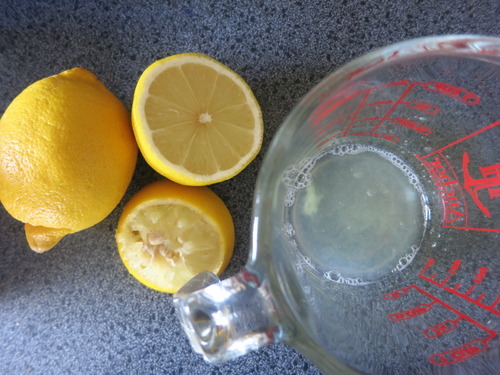
Squeeze your lemons
Add 1/4 cup lemon juice and 1 1/2 T butter and mix.
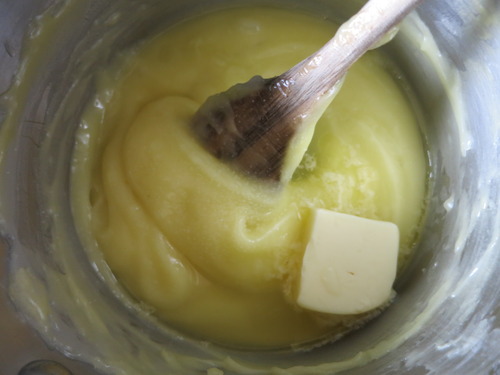
Stir over medium heat until it bubbles. Or, if yours is super thick like mine, just leave it there until it seems like it would be boiling if it wasn’t the consistency of rubber cement.
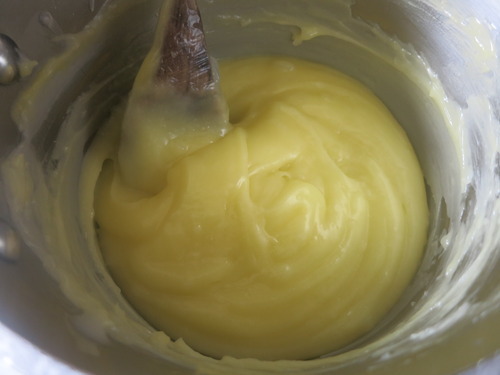
Pour your yellow blob into a bowl.
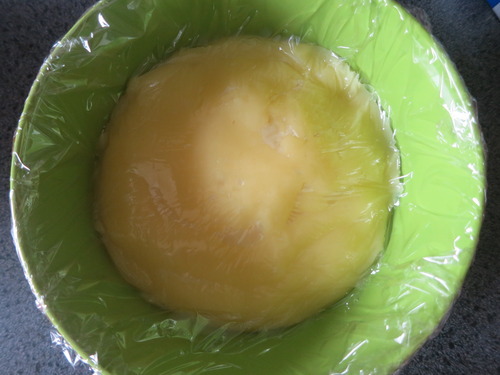
Cover directly over the blob with plastic wrap (otherwise it will weep a lot) and put it in the fridge to cool for at least 3 hours.
Come back in three hours and do this part – yey! Your pie will be done in about 10 minutes! So fun.
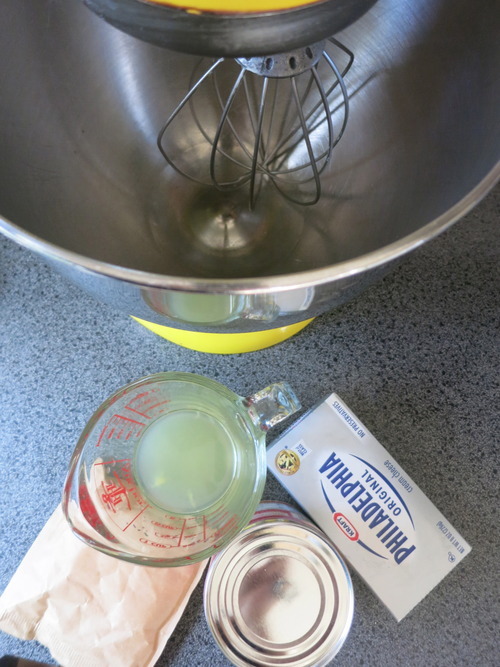
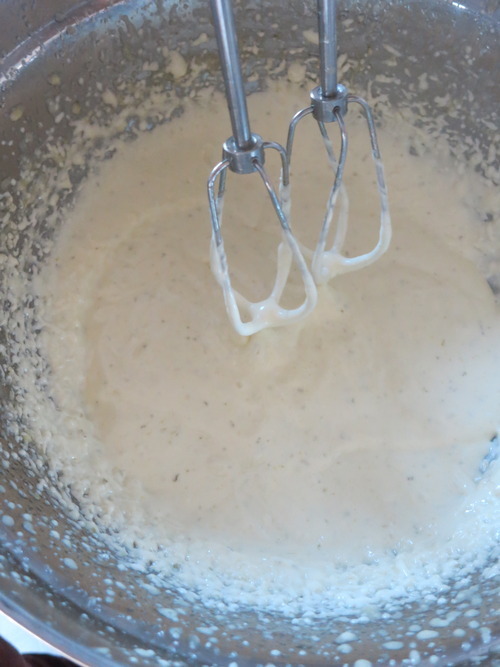
Add your almost-1-cup of sweetened condensed milk, 4 oz or cream cheese, 1/4 cup of lemon juice, and 1/4 cup of jello mix.
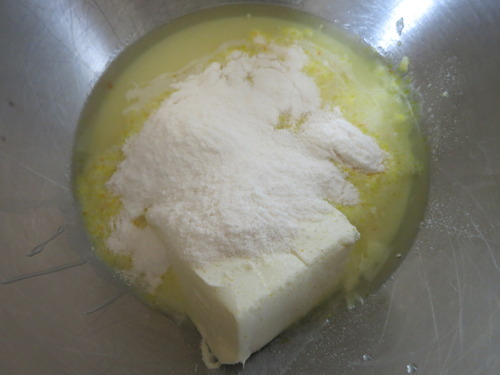
Stir until creamy.
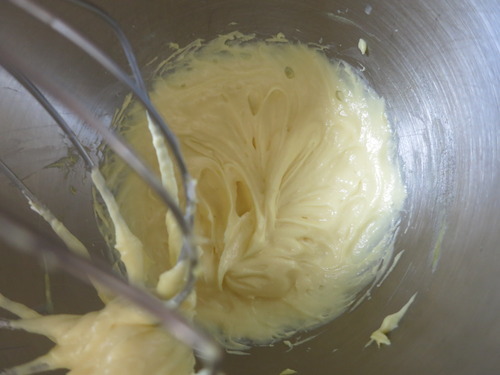
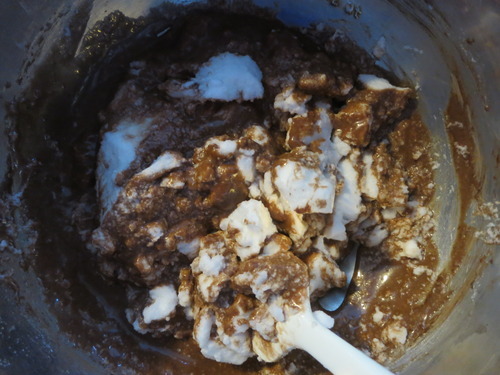
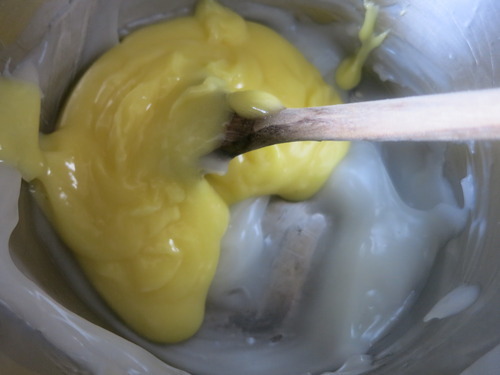
Add cold-from-the-fridge gelatinous blob.
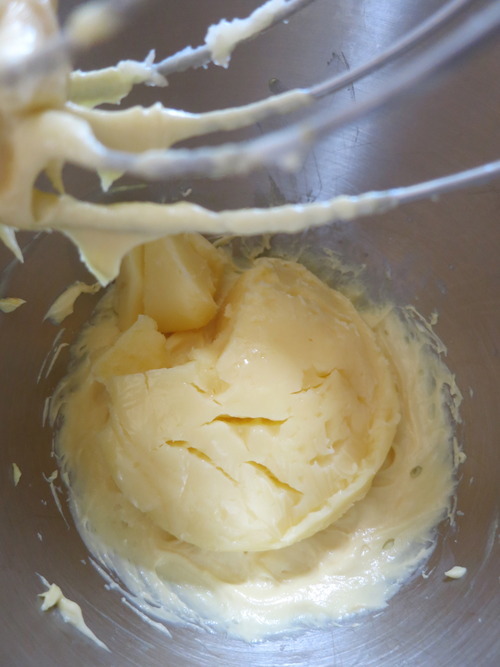
Mix until smooth.
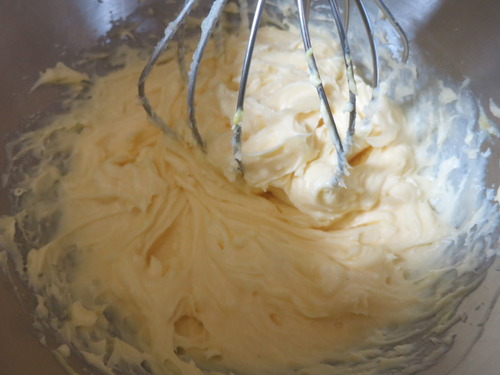
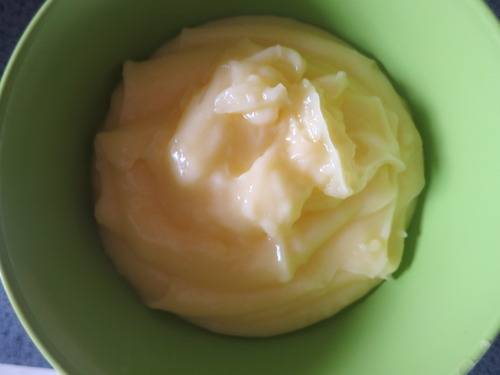
Mmmm.. looks like butter.
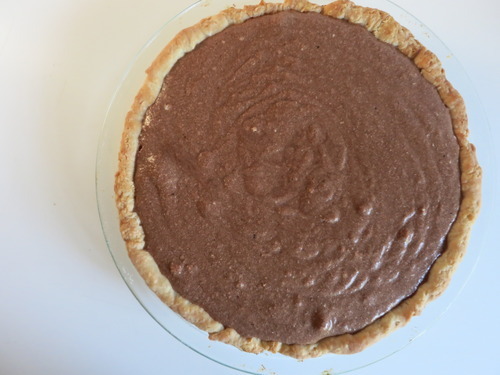
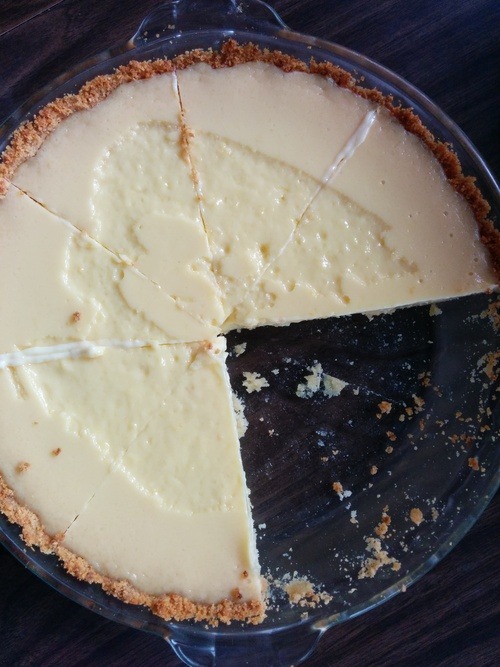
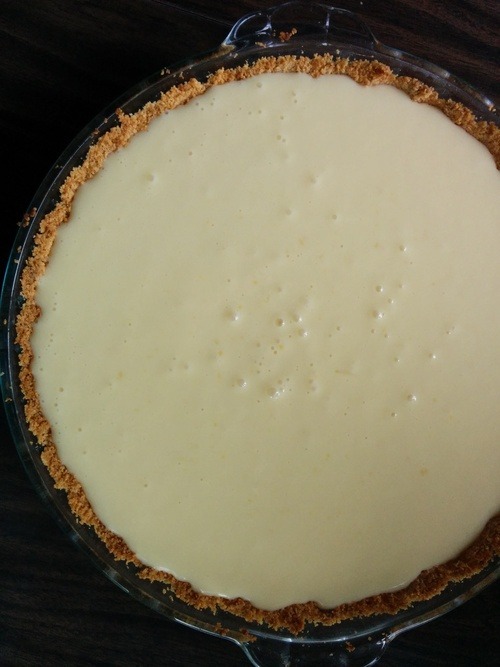
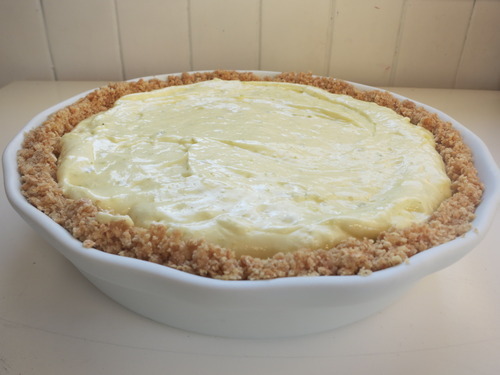
Add filling to your (cold) crust:
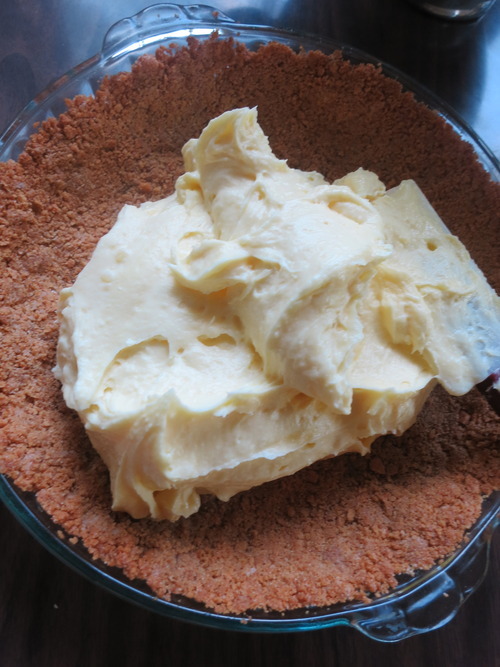
Yum! Lemon pie!

I decided to put my “garnish” whipped cream as a second layer of my pie:
(instructions: make whipped cream, spread on pie)
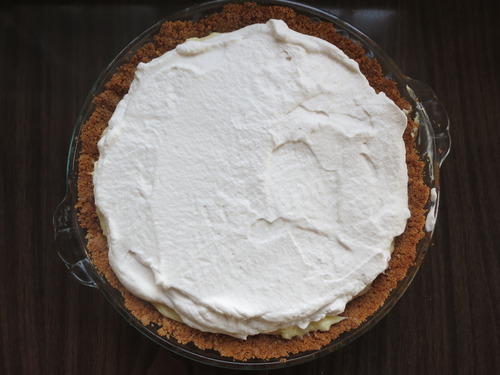
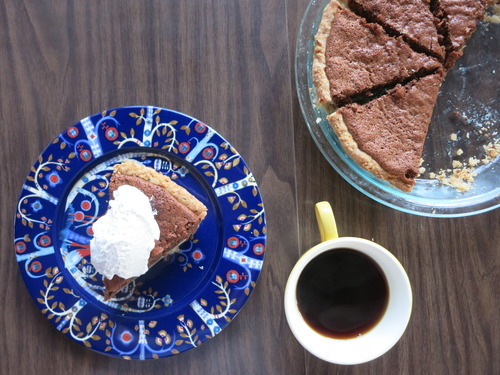
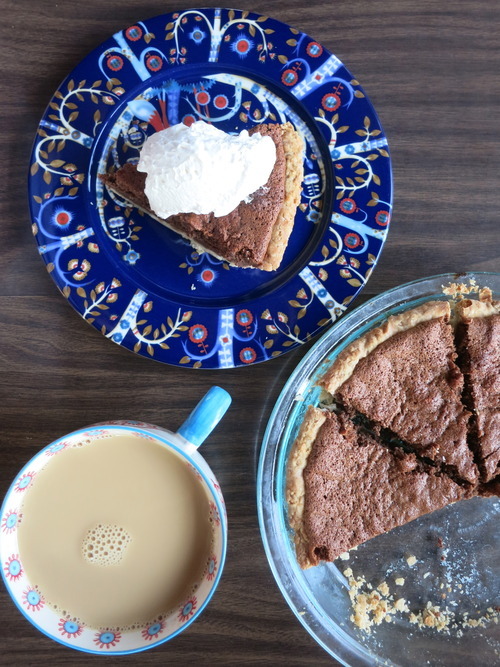
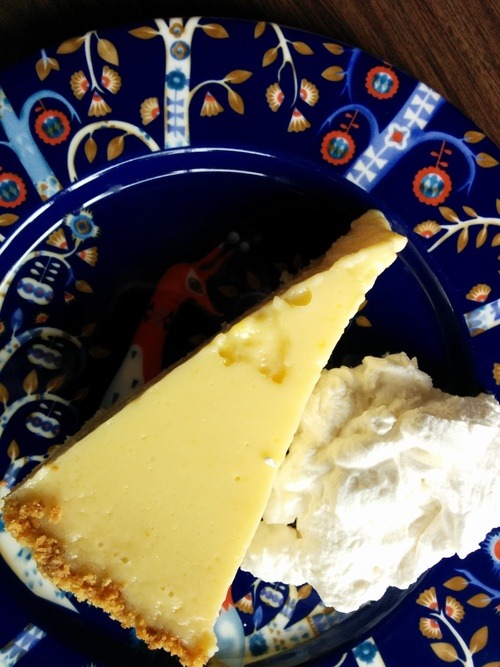
Present your beautiful pie to the hungry masses.
Cut and serve pie-hero. You’re done!
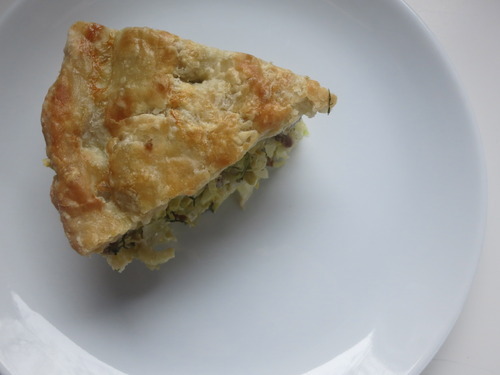
Looking for a different pie from my blog but don’t feel like scrolling through the archives? Check out my pinterest board dedicated to this blog! I will try to keep it updated with all the recipes on this blog. Friday’s Pie Days on Pinterest